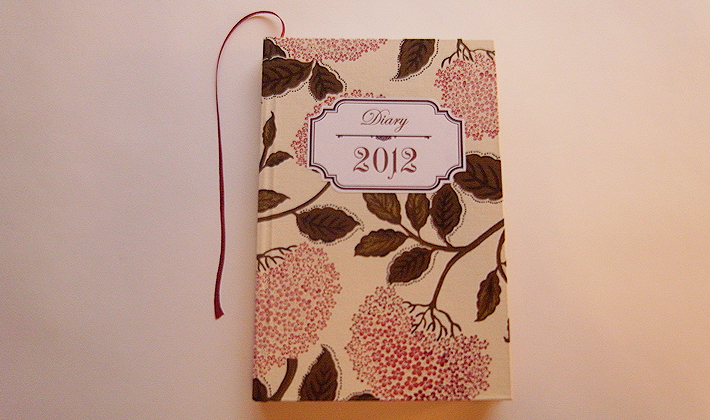
Diary 2012
I made a diary of 2012. I have drawn the illustration for each month, designed the pages and hand bound the diary.
I made two covers.
イラスト制作、デザイン、製本をやっています。

The contents are the same.
This is the scheduling part. Left half is the planner, and the right half is free space.
The pages are hand-bound with linen thread.
The hand bound books are said to be very strong and durable.
中身はこんなかんじ。 毎月にイラストがついています。
曜日部分はこんな感じ。左半分がスケジューラー、右半分がフリースペースです。
手で製本するのはページの丁合いを考えたり、材料そろえたりと面倒なのですが、本が自分でつくれちゃうというのはちょっと感動です。ちなみに手で縫って作った本はとても丈夫だそうです。
how to make the content
1. fold papers in half. 4-5 sheets will make a bunch. make several bunches.

2. saw the bunches together

3. once the sawing is done, flatten the book by putting weighs on top.

4. glue a piece of muslin on the spine

5. attach headband and string. the headband is purely for decoration.

this is how headbands are sold in shops.
how to make cover
1. cut a cardboard.

2. glue cloth on cardboard.

3. fold the cover.

4. Glue the cover and content together.
If you are interested, there are plenty of books, lessons and online lectures you can have a look.
This is where you can get materials.
見返しで表紙と本体を留める。
この説明だけだとざっくり過ぎてなにがなんやらですが、最近は本がでてたり講習会があったりネットにいろいろ載ってたりするのでそんなのを参照してみてください。
材料はこんなお店で売っています。
・パピエリウム ギンザ 伊東屋の2号館。本館のウラにあります。
・まるみず組 材料も売っていますし、クラスもあります。買うだけでもいろいろ親切に教えてくれました。